Table of Contents
If you’re interested in making an ombre cake, this blog post will show you how to do it. We’ll give you a step-by-step guide, as well as some tips for getting the best results. So read on and get ready to impress your friends and family with your baking skills!
Ombre Cake History
Ombre cake is a type of cake that has multiple layers of different colors. An ombre cake’s name comes from the French words for “shaded” and the shade that is gradually applied to each end of the cake.
Ombre cakes can be made with any flavor of cake and any flavor of frosting, but most often they are made with chocolate and vanilla cake layers, with chocolate frosting in between and on top.
Ombre cakes first appeared in the early 2000s, but they didn’t become popular until around 2010.
There are many different ways to make an ombre cake, but the most common way is to start with two or three cake layers of different colors, and then to frost the top of each layer with a different color.
The next step is to frost the entire cake with a color that is in between the colors of the cake layers. Finally, you can use a pastry bag to pipe swirls of a different color on top of the cake.
There are many different variations of ombre cakes, including rainbow ombre cakes and galaxy ombre cakes.
Rainbow ombre cakes have multiple layers of different colors, just like regular ombre cakes, but they also have a layer of white frosting in between each color layer.
Galaxy ombre cakes are made with black and white cake layers and colored frosting in between and on top. They often have stars and other galaxy-themed decorations on top.
How To Make An Ombre Cake?
There are many ways to make an ombre cake. You can use different flavors of cake, frosting, and decorations. In this article, we will show you how to make a simple ombre cake.
To make an ombre cake, you will need:
- Three 8-inch round cakes
- Two 12-ounce bags of frosting in two different colors
- A star tip for the frosting
- A piping bag
- Toothpicks
How to make:
- Bake the three cakes according to the instructions on the package. Let them cool completely.
- Place one of the cakes on a cake stand or serving plate. Frost the top with a light layer of frosting. Place the second cake on top of the first, and frost the top with a light layer of frosting.
- Place the third cake on top of the second cake. Frost the top with a thick layer of frosting.
- Use a toothpick to make swirls in the frosting.
- Before serving, place in the refrigerator for at least two hours.
- Pipe stars around the edge of the cake using the star tip and different colors of frosting.
- Serve and enjoy!
Ideas For Ombre Cake Designs
If you’re looking for ombre cake ideas, there are a few different ways to create this effect. You can use different colors of frosting or fondant to create an ombre effect, or you can use different shades of the same color.
You can also make a two-layer cake and then use a contrasting color for the frosting or fondant on the top layer. Here are a few ideas to get you started:
- Use different colors of frosting or fondant
If you want to create an ombre effect with different colors of frosting or fondant, start by dividing your cake into three or four equal parts. Then, choose a different color for each section. You can use any color you like, or you can create an ombre effect by using gradually darker or lighter shades of the same color.
- Use different shades of the same color
If you want to use different shades of the same color, start by dividing your cake into two or three equal parts. Choose a light shade, a medium shade, and a dark shade, or choose two shades that are close to each other on the color spectrum. Then, use a contrasting color for the frosting or fondant on the top layer.
- Make a two-layer cake
If you want to make an ombre cake with two layers, start by baking two cakes in two different colors. You can use any colors you like, or you can create an ombre effect by using gradually darker or lighter shades of the same color. Once the cakes are cooled, frost the top of one cake with a light shade of your chosen color, and frost the top of the other cake with a dark shade of your chosen color.
- Use a contrasting color for the frosting or fondant on the top layer
If you want to use a contrasting color for the frosting or fondant on the top layer, start by baking two cakes in two different colors. You can use any colors you like, or you can create an ombre effect by using gradually darker or lighter shades of the same color.
Once the cakes are cooled, frost the top of one cake with a light shade of your chosen color, and frost the top of the other cake with a dark shade of your chosen color. Then, use a contrasting color for the frosting or fondant on the top layer. For example, you could use black frosting on a white cake or vice versa.
Tips for Making the Best Ombre Cake
There’s something about ombre cakes that just makes them so much more special than regular cakes. Maybe it’s the fact that they look like a work of art, or maybe it’s the delicious flavor combinations that you can create. No matter what the reason, if you want to make an ombre cake, there are a few tips that you need to know.
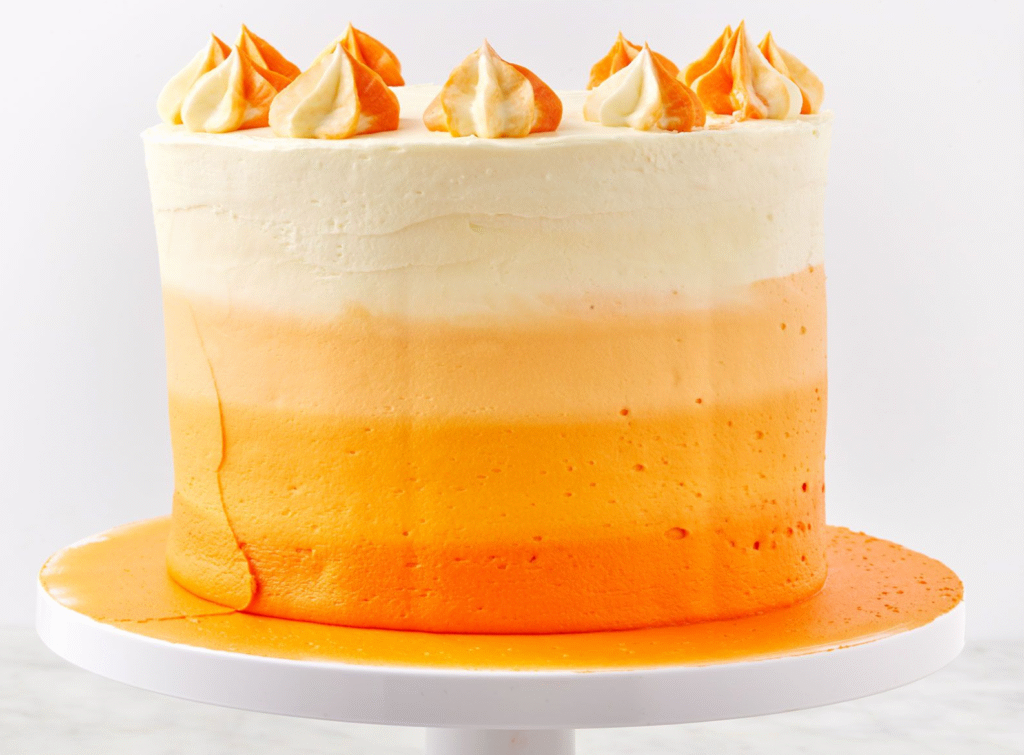
The first thing to keep in mind is the color gradient. You want to choose colors that will create a beautiful gradient when baked. Start with light colors at the top and gradually move to darker colors as you get closer to the bottom of the cake.
Another thing to keep in mind is how you layer the batter. You want to start with the lightest color at the bottom and then layer the darker colors on top. This will help create that beautiful gradient effect.
Finally, be careful not to overbake the cake. You want it to be light and fluffy, so make sure to keep an eye on it and take it out of the oven when it’s still slightly undercooked. If you bake it for too long, the colors will start to blend together and you won’t get that desired ombre effect.
With these tips in mind, you’ll be able to create the perfect ombre cake every time!
FAQs on How To Make An Ombre Cake
How do you do an ombre effect on a cake?
It’s actually quite simple. You’ll need three bowls of different colors, and a cake decorating bag fitted with a star tip. Start by mixing the lightest color in the first bowl. Add more of the color until you reach the desired shade. Repeat this process in the second and third bowls, using darker colors.
Take your cake decorating bag and fill it with the lightest color. Starting at the edge of your cake, pipe a star shape around the perimeter. Continue piping stars in a circle, making sure to overlap each one slightly. Once you’ve covered the entire cake, switch to the next darkest color and repeat the process. Finally, pipe stars with the darkest color on top.
What icing do you use for ombre cake?
There are many different types of icing that can be used for an ombre cake. Some people prefer to use a light and fluffy frosting, while others prefer a more decadent ganache. Ultimately, it is up to the baker to decide what type of icing will best suit their cake.
Some popular choices for ombre cakes include:
- American buttercream
- Swiss meringue buttercream
- Italian meringue buttercream
- Ganache
- Royal icing
- Cream cheese frosting
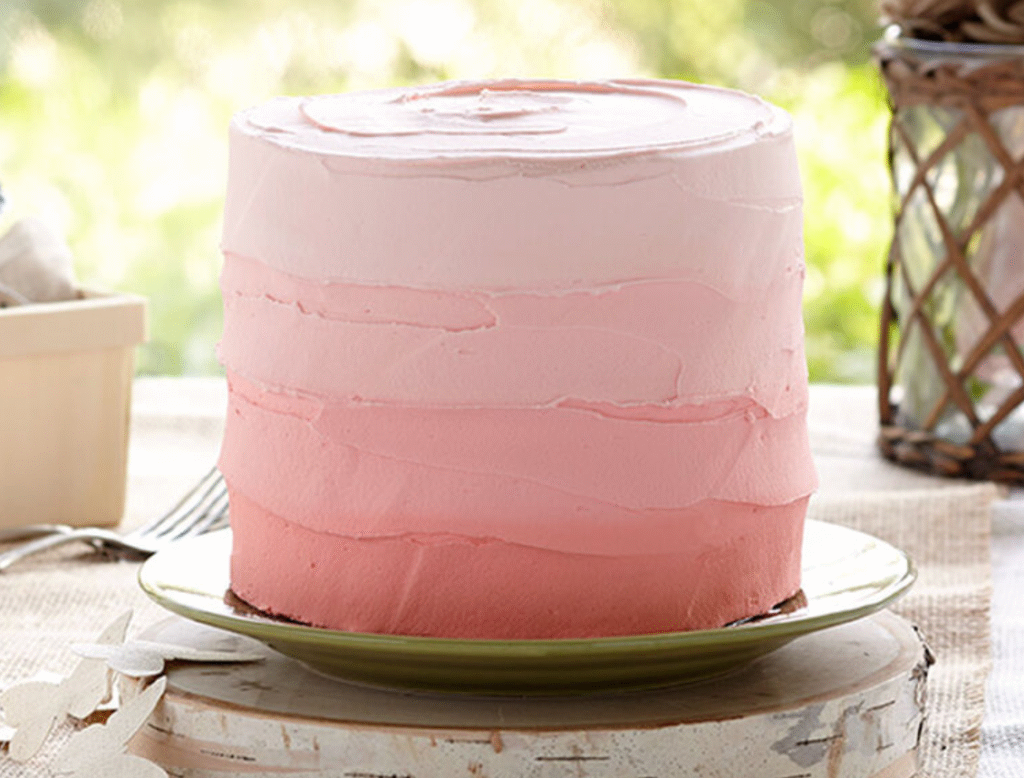
Each of these icings can be made in different shades of pink, purple, or blue, making it easy to create an ombre effect. However, other types of icing can also be used, so it is important to personalize the cake to fit the occasion.
For example, if someone is celebrating a birthday, they might want to use a brightly coloured frosting that will match the celebrant’s personality. Alternatively, if someone is getting married, they might choose a traditional white frosting with subtle shades of pink or blue.
No matter what type of icing is used, it is important to make sure that it is spread evenly over the cake. This will ensure that the ombre effect is consistent from top to bottom.
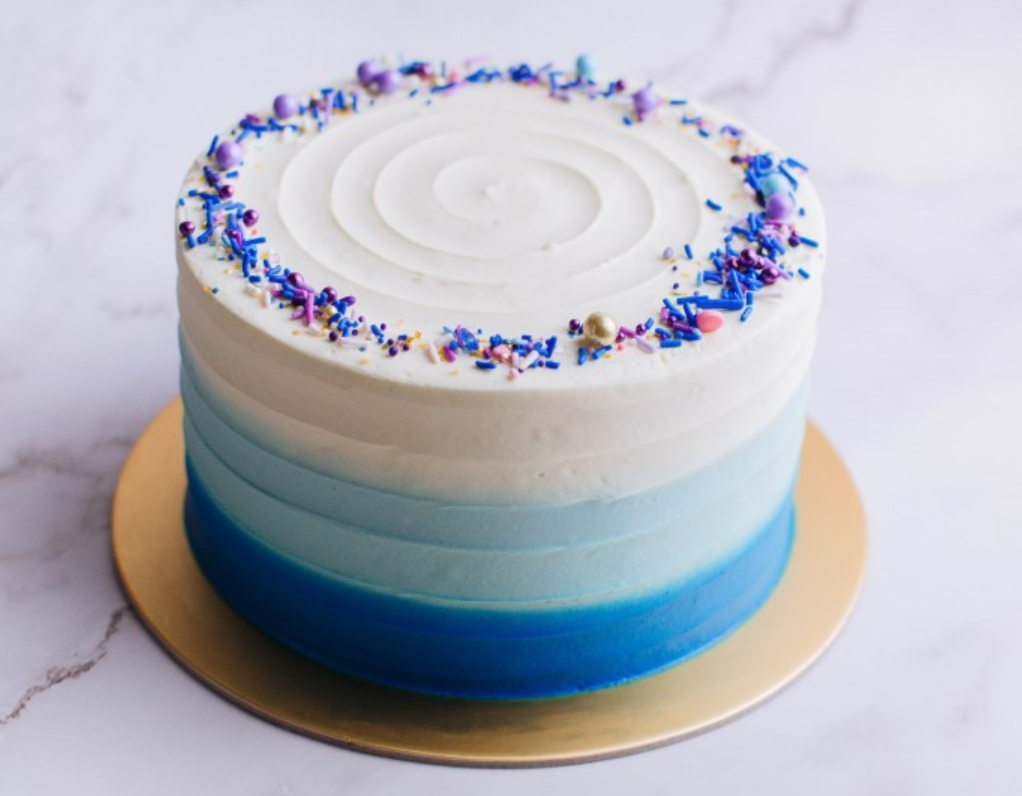
When it comes to decorating an ombre cake, there are many different options available. Some people prefer to keep things simple by using sprinkles or edible flowers. Others might choose to go all out and use elaborate decorations such as sugar pearls or fondant roses.
How do you ice an ombre cake for beginners?
The first step is to make the cake. You can use any recipe you like, but we recommend a chocolate cake recipe for beginners. Once the cake is baked and cooled, it’s time to ice it.
To ice an ombre cake, you’ll need three different shades of frosting: light, medium, and dark. If you’re using store-bought frosting, tint each shade accordingly. If you’re making your own frosting, start with white frosting and add food coloring until you reach the desired shade.
Spread a thin layer of light frosting over the entire cake. This will be the base for your ombre effect. Next, take the medium frosting and put it in a piping bag. Pipe a row of frosting around the edge of the cake, then pipe another row in the center. Finally, use the dark frosting to pipe a third row around the edge of the cake.
How do you blend ombre buttercream?
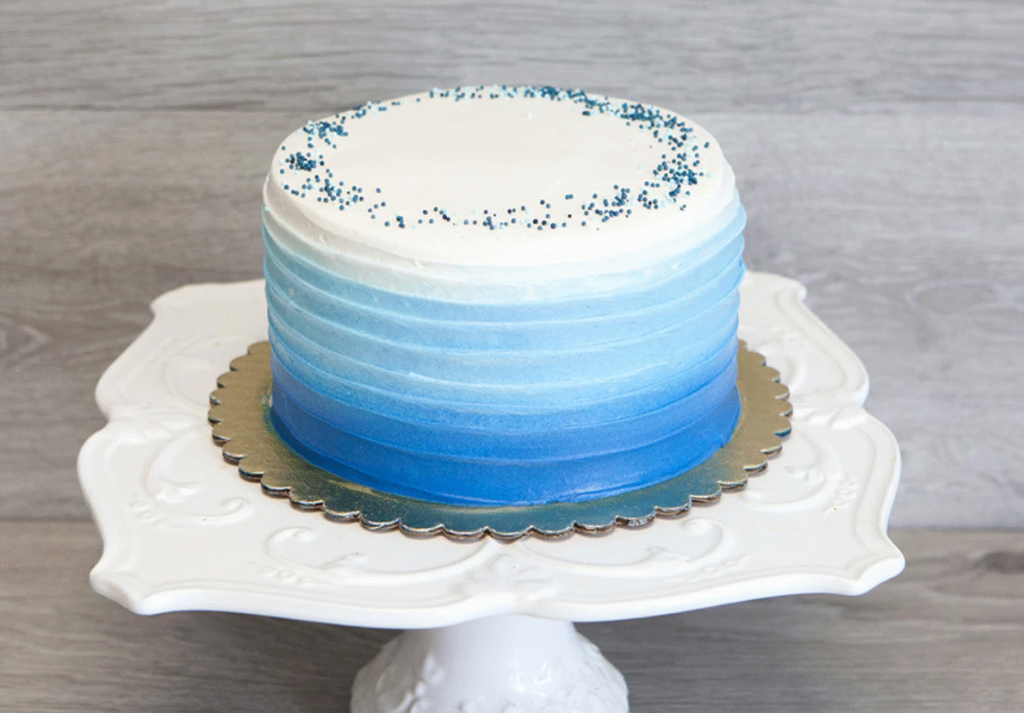
To blend ombre buttercream, start by dividing your buttercream into three equal parts. Color one part light blue, one part navy, and leave the third portion white.
Next, place each color in a separate piping bag fitted with a star tip. Starting with the light blue frosting, pipe a dollop onto the top of the cupcake.
Then, using a swirling motion, pipe the frosting down the sides of the cupcake until it reaches the bottom.
Next, pipe the navy frosting on top of the light blue frosting. Again, use a swirling motion to pipe it down the sides of the cupcake.
Finally, pipe on the white frosting and smooth it out with an offset spatula.
What are some tips for decorating an ombre cake?
If you want to decorate your ombre cake, there are a few things that you can do. One option is to use different colors of frosting. You can also use sprinkles, edible flowers, or even candy. If you want to get really creative, you can also make your own decorations out of fondant or gum paste. Whatever you choose, make sure that it matches the color scheme of your cake.
Another thing to keep in mind when decorating an ombre cake is the placement of your decorations. Try to place them in a way that will create a cohesive look. You may also want to use the same decoration in different colors or sizes to add some variation.
Finally, be sure to take your time when decorating your cake. It’s important to be precise so that the finished product looks great. If you’re not sure how to do something, there are plenty of online tutorials that can help you out.
Conclusion
So, there you have it! A foolproof guide on how to make an ombre cake. We hope that this tutorial was helpful and that your ombre cake turns out beautifully. If you have any questions or run into any problems while making your cake, be sure to let us know in the comments below – we’d be happy to help!
Thank you for reading Ohsnap Cupcakes